Requirements:
- You should have experience with APT package manager and the command line.
- You should be running Linux Mint 18.3 Cinnamon, MATE or XFCE edition, otherwise, first upgrade to Mint 18.3 using the Update Manager, then you can upgrade to Mint 19.
- Set your terminal to unlimited scrolling; from the terminal windows, go to Edit=>Profile Preferences=>Scrolling. Check the “Scroll on output” or “unlimited” option and click “OK”.
Upgrading to Linux Mint 18.3 From 18.x
As I said, first you need to upgrade to Linux Mint 18.3 from previous Linux Mint 18, 18.1 or 18.2 using upgrade tool as shown.
Go to Menu => Update Manager (if you are shown the update policy screen, select the policy you want and click OK), then click on the Refresh button to check for any new version of mintupdate and mint-upgrade-info.
In case there are updates for any packages, apply them by clicking on Install Updates. Once you have installed all updates, go to Edit => Upgrade to Linux Mint 18.3 Sylvia (this menu item only appears when your system is up to date) as shown in the following screenshot.
Install Updates
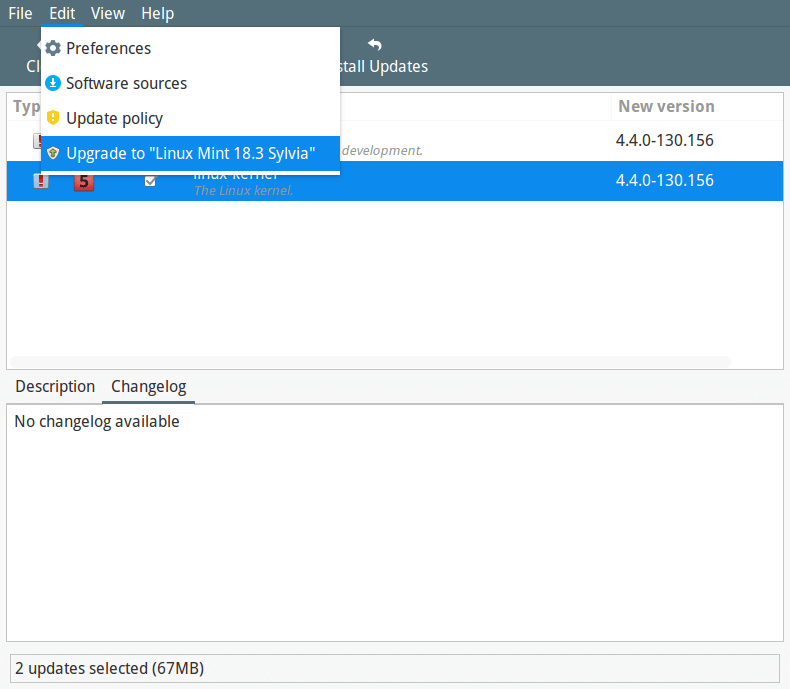
Upgrade to Linux Mint 18.3
You will see the screen below telling you a new version of Linux Mint is available. Click Next and follows on screen instructions.
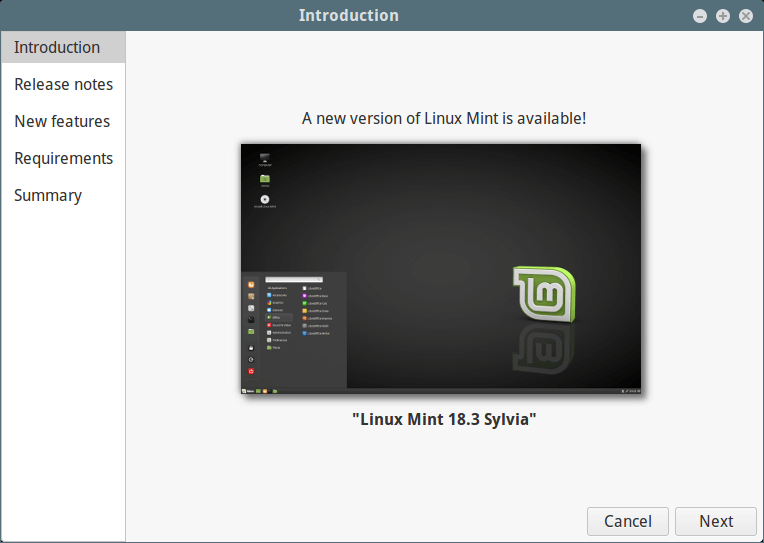
Linux Mint New Version
During the installation of upgrades, you will be asked whether to keep or replace configuration files, click on Replace as shown in the following screenshot.
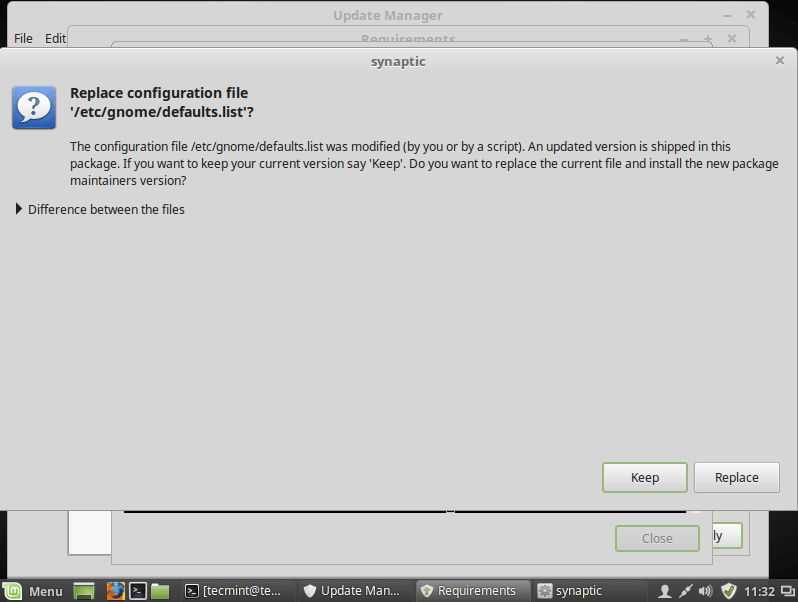
Replace Configuration Files
After the upgrade is finished, reboot your computer.
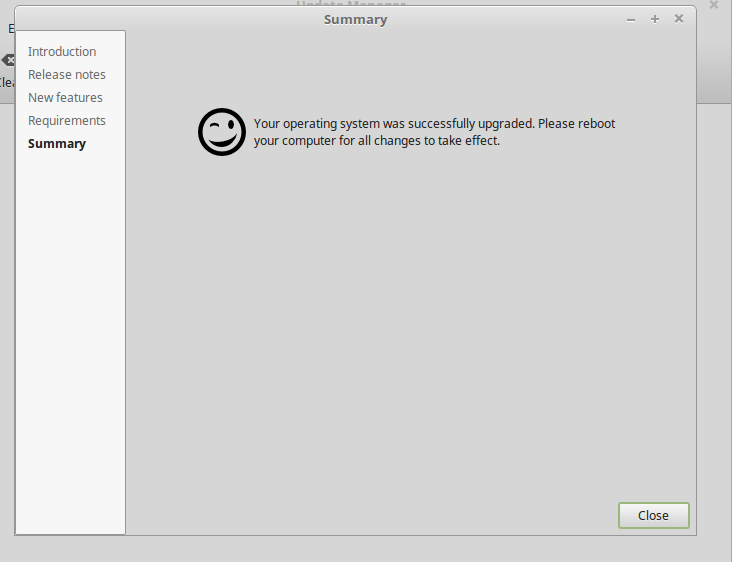
Upgraded to Linux Mint 18.3
Once you have rebooted, you now have Linux Mint 18.3 running, and you are good to go.
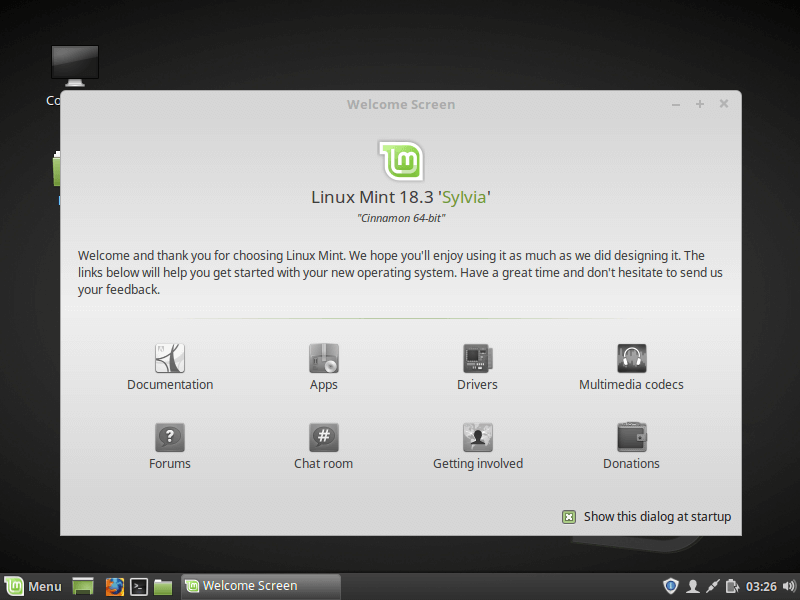
Linux Mint 18.3 Running
Upgrade from Linux 18.3 to Linux Mint 19
1. This is an important and mandatory step, in case the upgrade process doesn’t go well and your system breaks, you can reclaim your system by restoring your latest system snapshot.
Create Linux Mint System Snapshot Using Timeshift
To install timeshift, open a terminal and run the following command.
2. Then go to the system Menu and search for Timeshift, then click on it. Choose the snapshot type and click Next. The timeshift will try to estimate the system size and determine attached storages.
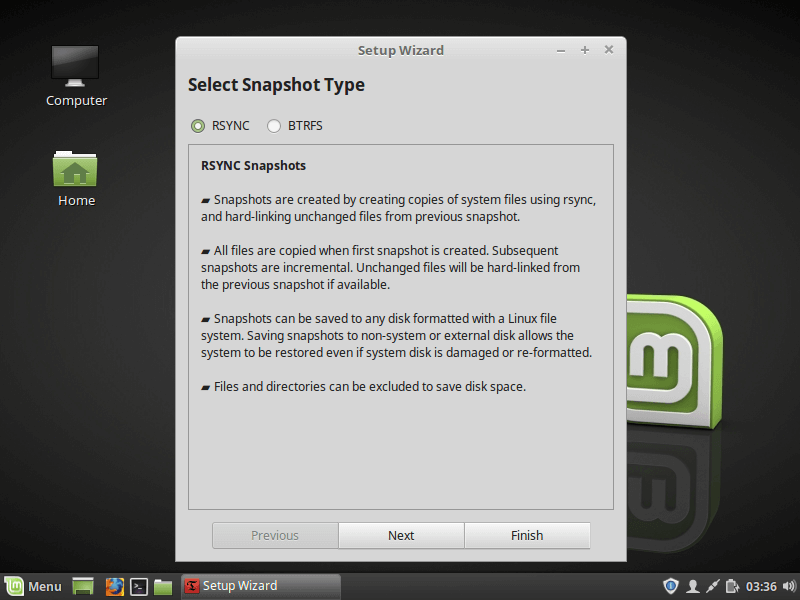
Select Timeshift Snapshot Type
3. From the wizard, select a destination for your snapshots, then click Finish.
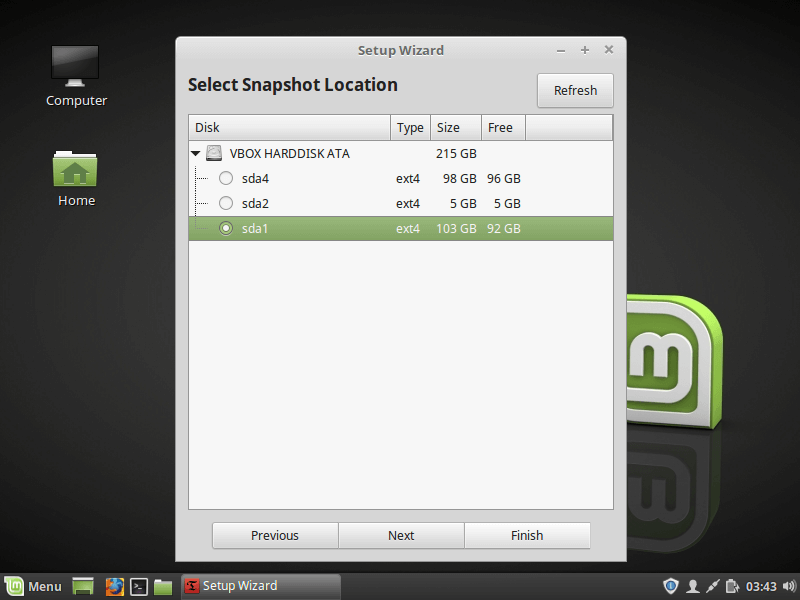
Select Linux Mint Snapshot Drive
4. Afterwards, click on the Create button to make a manual snapshot of your operating system.
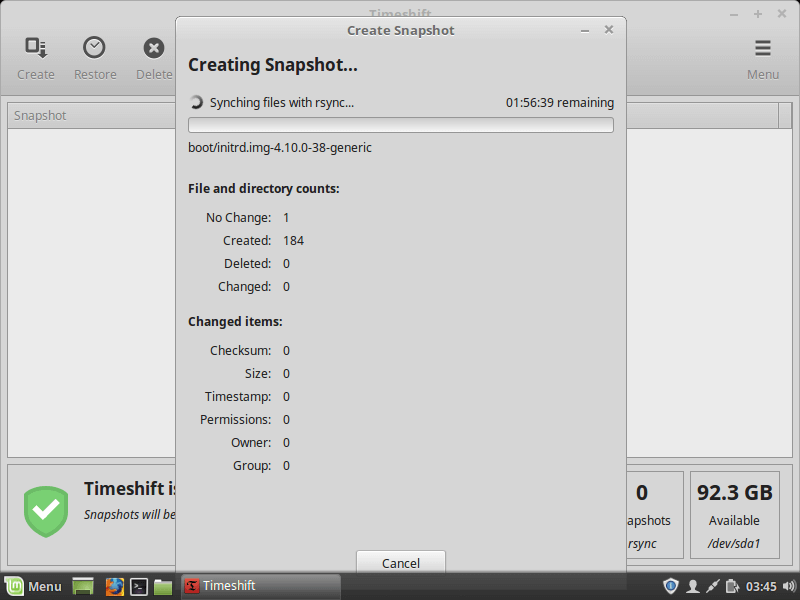
Creating Linux Mint Snapshot
Once the creation of system snapshot is finished, move to the next step.
Step 2: Switch from MDM to LightDM Display Manager
5. The MDM display manager is not supported in Linux Mint 19, you need to install LightDM. To check your current display manager, run the following command.
6. In case the output shows “/usr/sbin/lightdm”, head over to Step 3. But if the output is “/usr/sbin/mdm” as shown in the above output, you need to switch to LightDM and remove MDM as shown.
7. During the package installation process, you will be asked to choose a display manager between MDM and LightDM, choose LightDM, and click Enter.
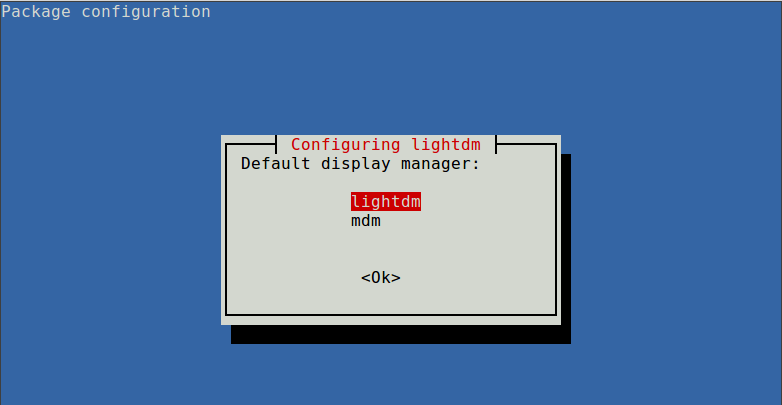
Choose LightDM
8. Now remove MDM using the following command.
9. Next, reconfigure LightDM using dpkg-reconfigure command and reboot your system.
Step 3: Upgrading to Linux Mint 19
10. To start, go to Menu => Update Manager (if you are shown the update policy screen, select the policy you want and click OK), then click on “Refresh” to update the APT package manager cache and click Install Updatesto apply all updates.
Install Updates
If your system is up to date, proceed to install the upgrade tool by running the following command from a terminal.
11. Next, run the following command to simulate an upgrade and follow the on screen instructions.
This command will:
- temporarily, point your system to the Linux Mint 19 repositories and assesses the impact of an upgrade. Once the simulation is complete, it restores your old repositories.
- let you know which packages will be upgraded, installed, kept back and removed (you can reinstall them after the upgrade).
- also help you point out any packages that are preventing the upgrade, if there are any, remove them to proceed.
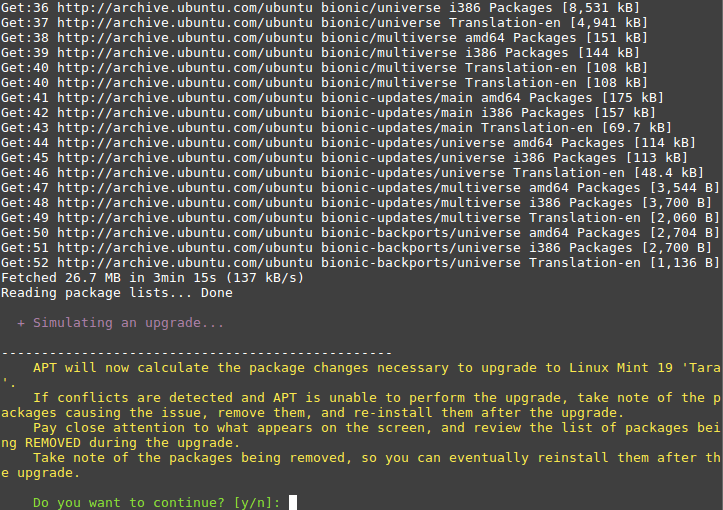
Linux Mint Upgrade Summary
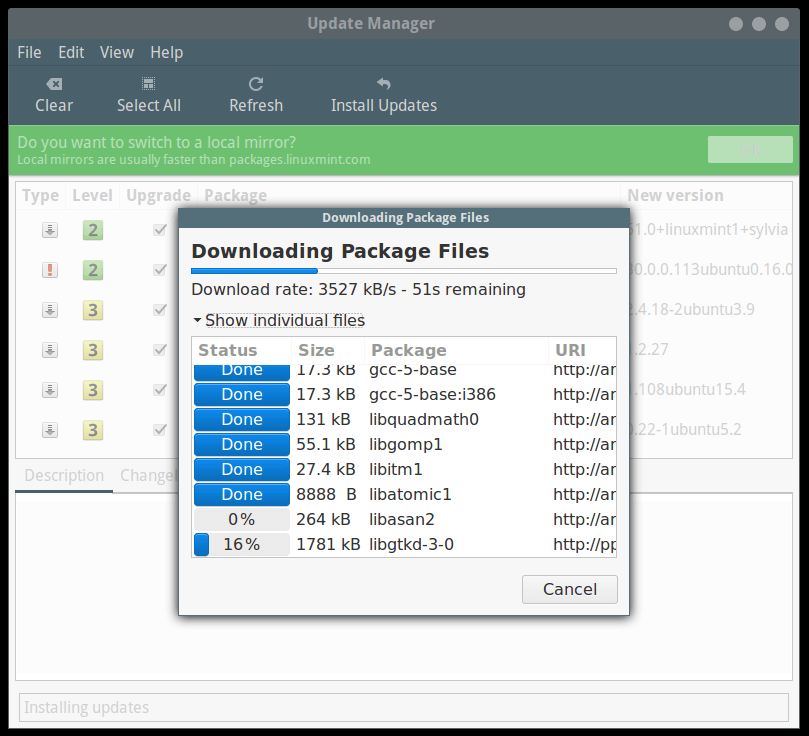
12. If you are satisfied with the results from the upgrade simulation process, proceed to download the package upgrades as shown.
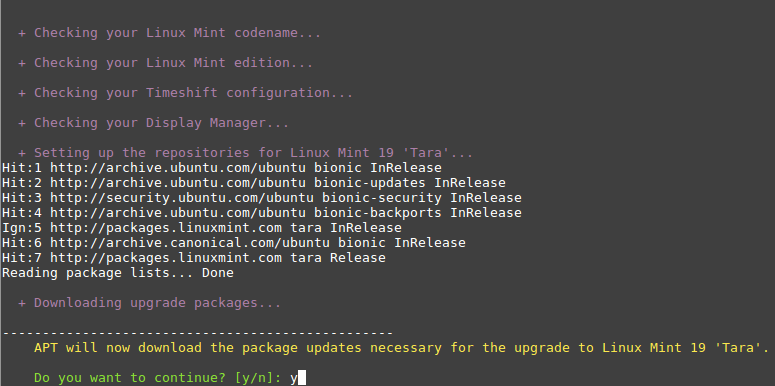
Download Mint Upgrade Packages
13. Now its time to apply the upgrades. This is a critical step that you should be careful about, it can’t be reversed, you can only go back by restoring a system snapshot (that is if you properly created one as shown above). Run this command to apply the upgrades.
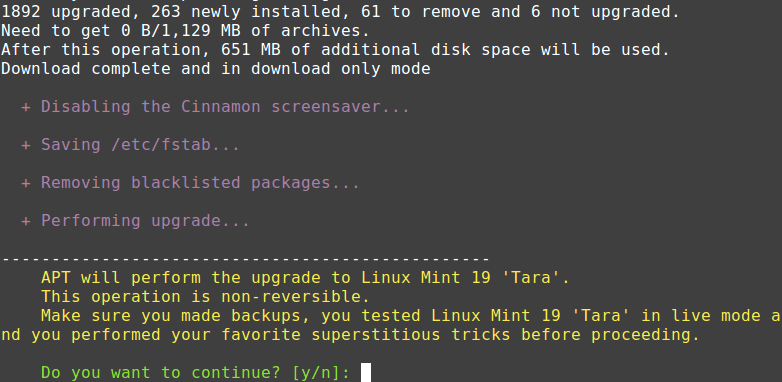
Upgrading to Linux Mint 19
Sit back and wait for the upgrade to finish. Once it’s done, reboot your system, login and enjoy Linux Mint 19.
If the upgrade process didn’t go well as expected, for one reason or the other, restore your operating system to an earlier state, either from within Linux Mint, or by launching Timeshift from a live Mint session from a live USB or live DVD.


